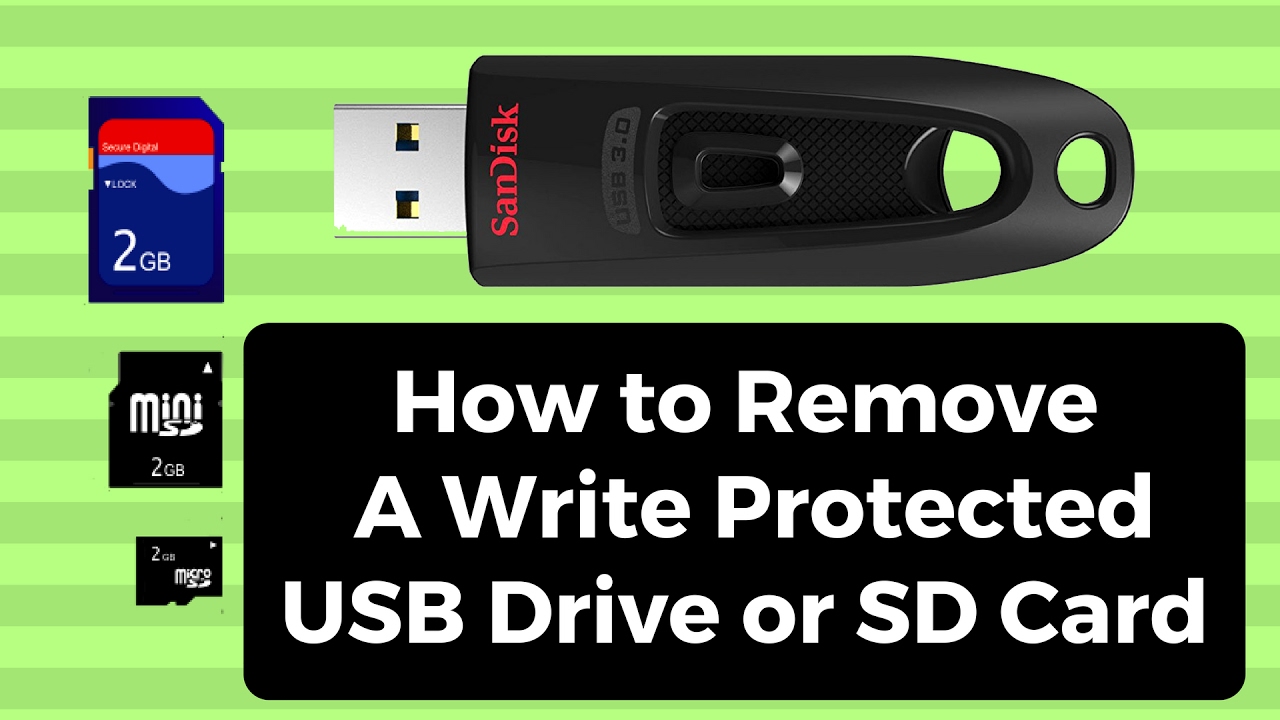
3 Methods to Format Writeprotected Disk in Windows 11/10/8/7
Worked perfectly on my Sandisk Ultra 32GB USB 3.1. Thanks ! So, in summary, to remove the write protect. fire up the CMD screen; Type diskpart and hit Enter. Type list disk and hit Enter.. Type select disk .. Type attributes disk clear readonly and press Enter. These commands didn't remove the Write Protect in my case so followed with.
Cara Format Sd Card Yang Write Protected
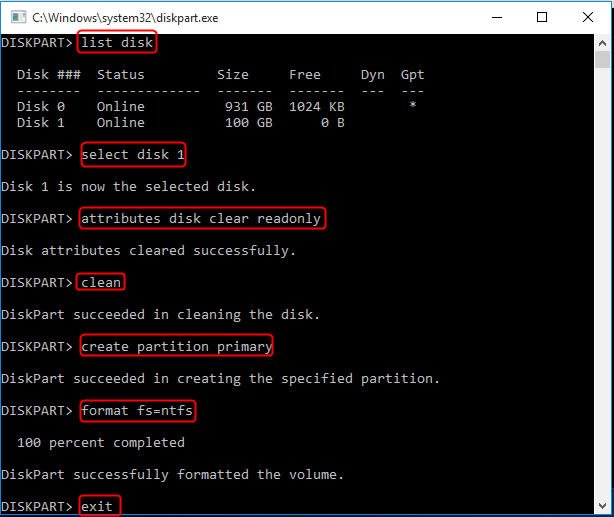
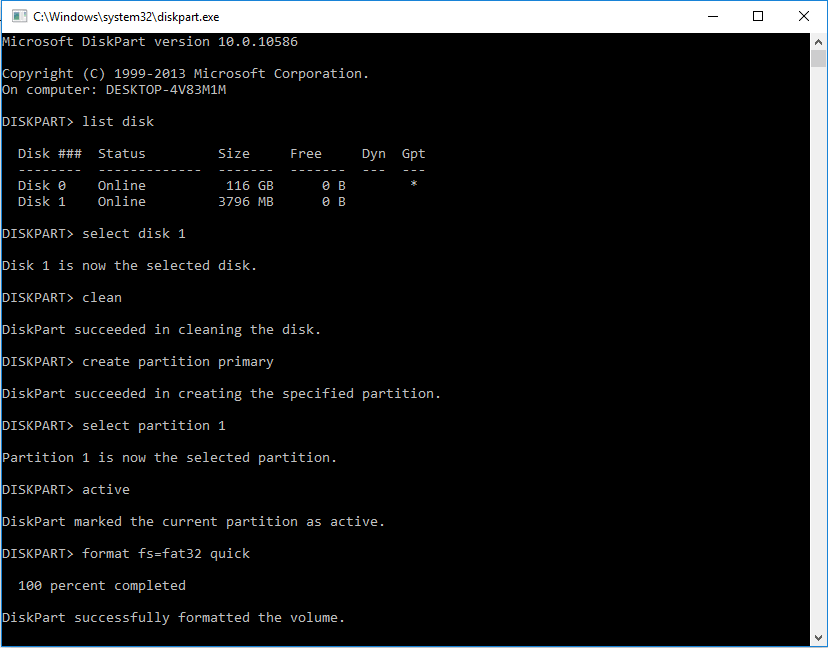
Here's how to remove write protection from a micro SD card using Diskpart: Open the Command Prompt . Type diskpart and press enter . If prompted by User Account Control, click Yes. Type list disk and press enter . Locate your micro SD card in the list, and make note of the disk number, i.e. DISK 1. If you aren't sure which is the SD card.
Cara Format Flash Disk Write Protected UnBrick.ID
Download and install EaseUS Partition Master, go to the Toolkit section, and click "Write Protection". Step 2. Select your write protected USB, USB external disk or SD card, and click "Disable". After this, you should be able to reuse your SanDisk and the saved content again. No further issues would occur.
How to format write protected sandisk pendrive YouTube
Note that the free format tool is unable to format a write-protected device directly, which means you have to remove the Sandisk write protection first. In this part, we will recommend a free formatting tool Qiling Partition Master Free to assist you in formatting an SD card, USB flash drive, pen drive, and other storage devices after you.
Aplikasi Untuk Format Flashdisk Write Protected 2019
Step 1. Connect SanDisk USB, SD card, SSD, or other devices with your computer. Install and run this program. On the main console, click the SanDisk USB flash drive, SD card, or other devices, and choose Format Partition at the left panel. Or right-click it, then select Format Partition at the drop-down menu.
cara format flashdisk write protected dengan software againodeb
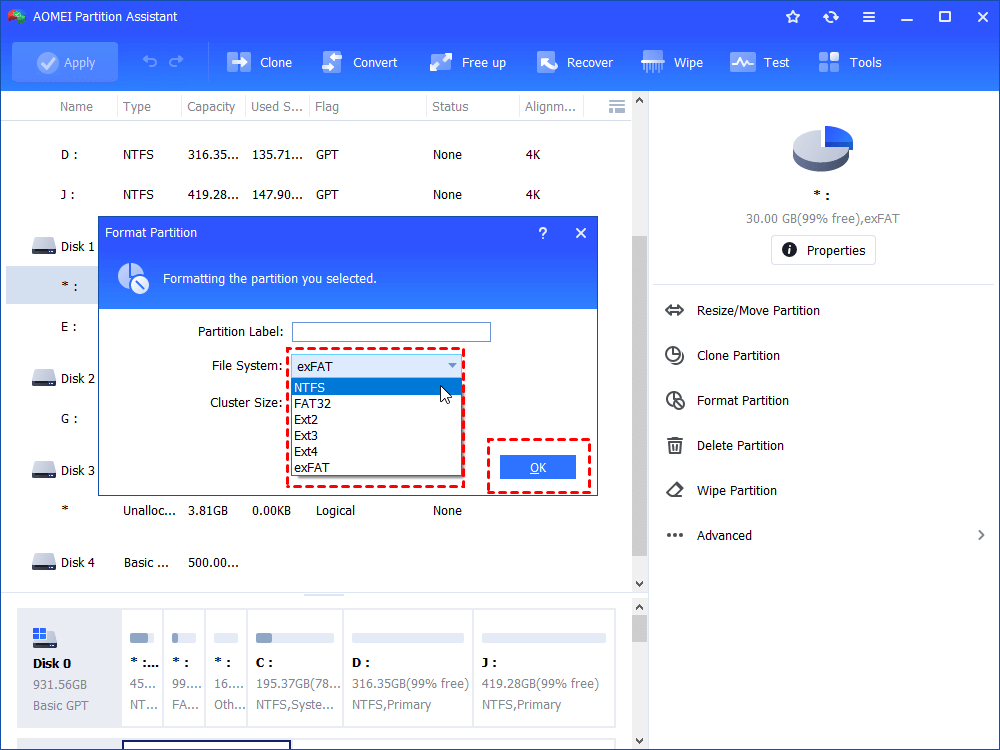
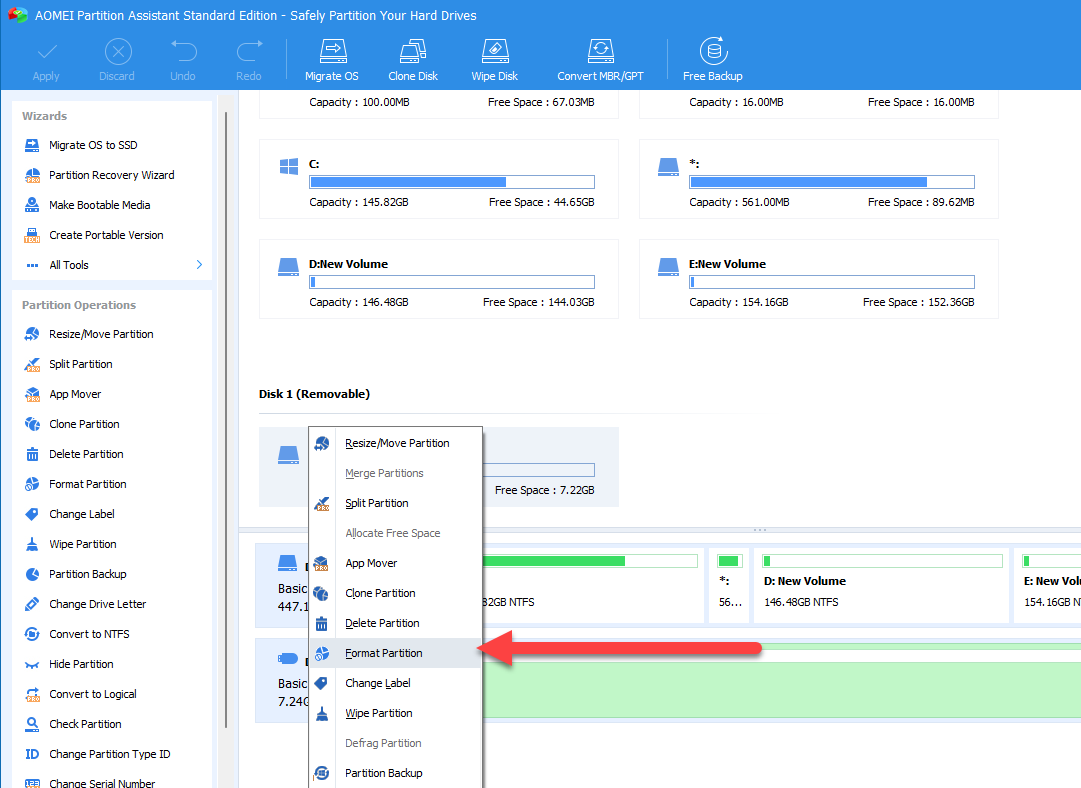
Step 1. Right-click the disk that is write-protected and select "Format Partition". Step 2. Choose your desired file system (ex: NTFS), and you can also set your other disk format preferences, such as partition label and cluster size. Step 3. Back to the main interface, click "Apply"->"Proceed" to start formatting the disk.
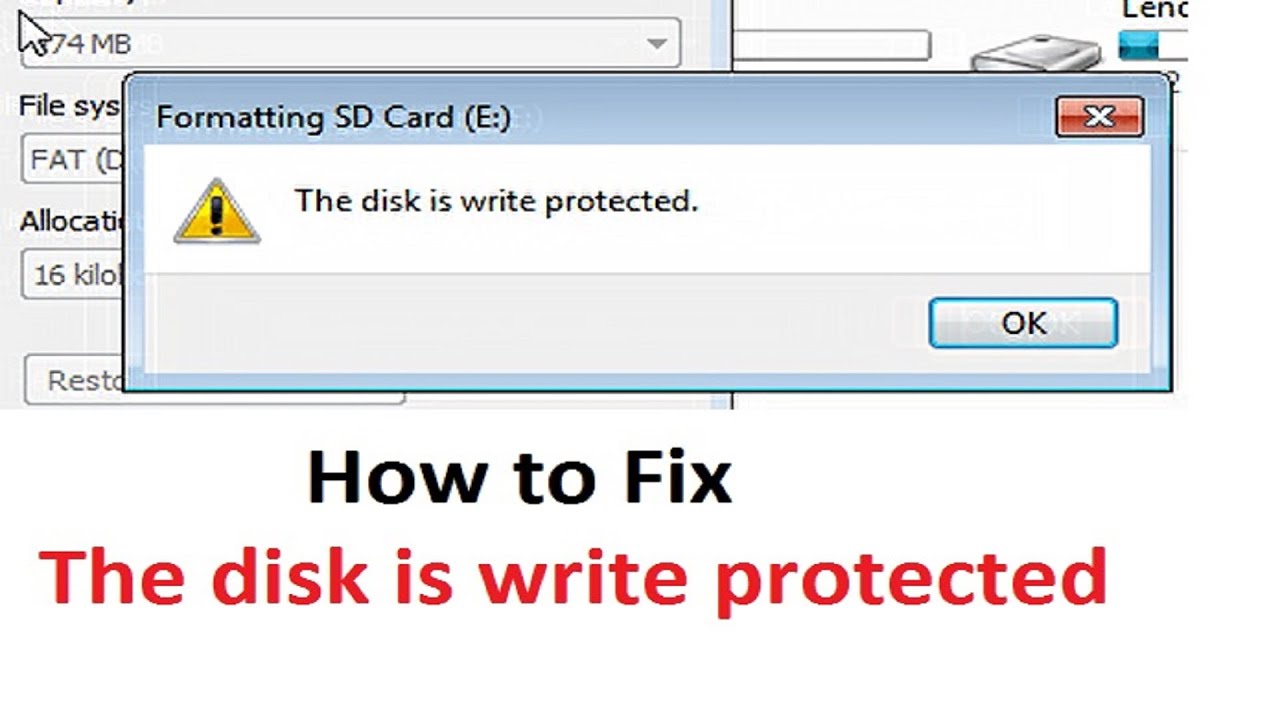
Full Solutions Remove WriteProtected with Best Free SanDisk Format Tool in Windows 7/8/10/11
Here is how to remove write protection on Micro SD card SanDisk in this way. Step 1. Open the command prompt. Type "diskpart" to start the utility. Step 2. Type "list disk" to show the list of available disks in the system. Step 3. Type select disk n, where n stands for the disk number of your SD card.
Fix "SanDisk Write Protected" Error by SanDisk Write Protection Removal and Formatting Tool EaseUS
Connect your USB or pen drive to PC. Step 2. Open Windows File Explorer, locate and right-click on the files or folder which is write-protected in your USB drive, and select "Property". Step 3. Go to the General tab, uncheck "Read Only", click "Apply" and "OK" to finish.
Cara Format Flash Disk Write Protected UnBrick.ID
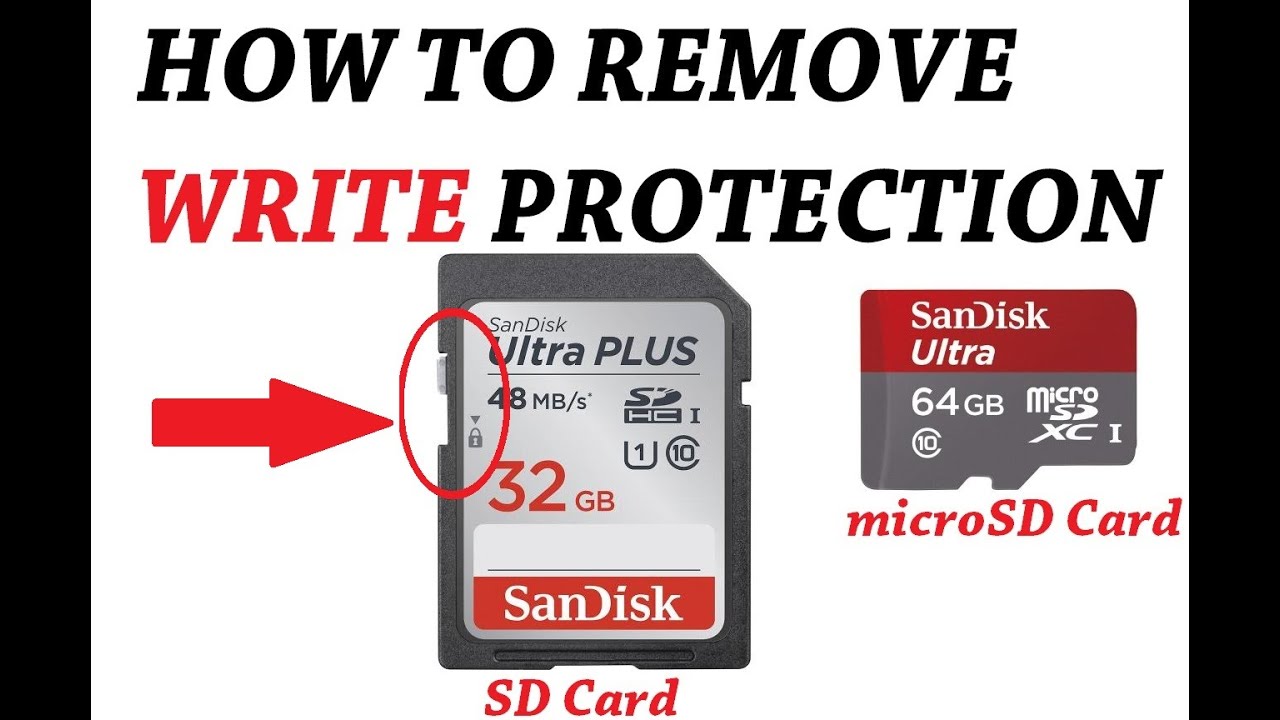
Step 1. Unplug your SD card from the PC and find the physical switch. Step 2. If the switch is on the lock side, switch it from ON to OFF to unlock the SD card. After this, the write protection should be turned off. Step 3. Reconnect the SD card to your computer and see if you can access files saved on the card.
Cara Format Flashdisk Write Protected Dengan Software Testing
One method to remove write protection from a SanDisk USB drive is by using the Command Prompt tool DiskPart. Here are the steps: First, open Command Prompt as an administrator. To do this, type "Command Prompt" in the Windows search bar. Right-click on the Command Prompt app result and select "Run as administrator.".
usb flash drive How to format write protected sandisk pendrive Super User
Disable write protection using command line (CMD) Connect your write protected SD card to your computer. Right Click on Start Type diskpart and hit Enter. Type list disk and hit Enter Type select disk Type attributes disk clear readonly and press Enter. nredthry April 9, 2022, 7:07am 5.

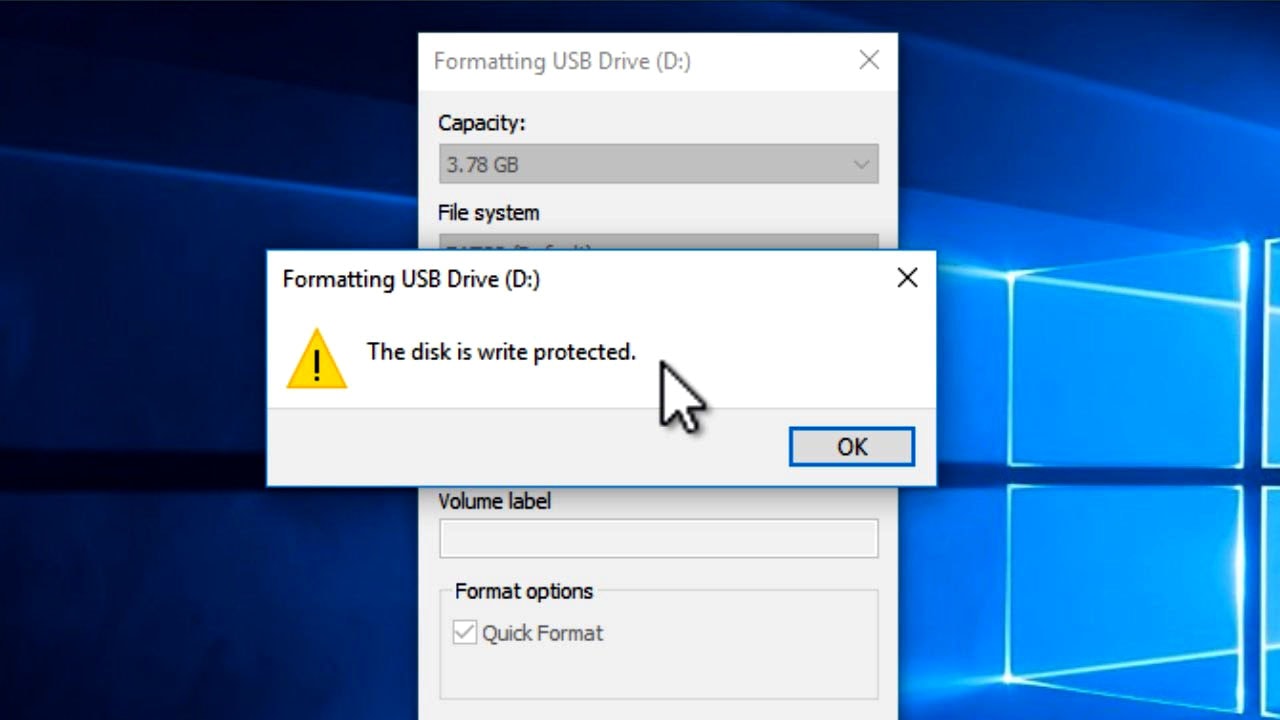
How to Format Write Protected SD Card 6 Best & Free Ways To Do It
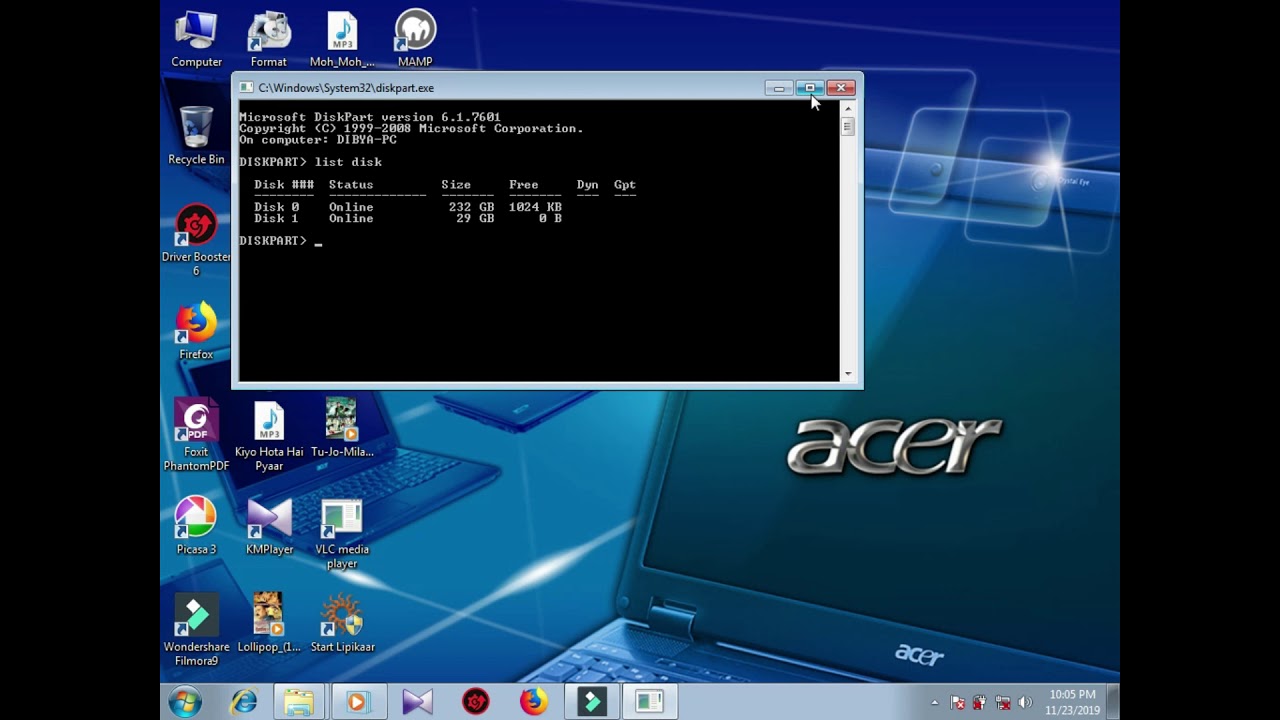
Open the Run program by pressing Windows+R. When the Windows Run box appears, type "diskpart" and hit the Enter key. Once you run diskpart, you will see the diskpart utility window: Type the command list disk in the DiskPart utility and hit Enter. This command will display all available storage devices in your computer.
How to Format Sandisk SD Card in Windows 10 [Best Methods] (2023)
A right click option to remove the readonly attribute is provided by this free tool. Step 1 - Right click Sandisk sd/usb on Partition Resizer, and remove readonly attribute. Step 2 - Right click the same Sandisk sd/usb and now this time choose the format option. Download Free Now. Also read: how to format write protected sd card.

How to Format Sandisk SD Card in Windows 10 [Best Methods] (2023)
How To Format Sandisk Usb Write Protected. Formatting a SanDisk USB write-protected is quite simple. Follow the steps below to format your SanDisk USB: 1. Plug the SanDisk USB into your computer. 2. Open "My Computer" or "This PC" and locate the SanDisk USB.

Sandisk Write Protected Usb Format Tool Learn the 7 working fixes to repair write protected
Apacer USB3.0 Repair Tool. USB Flash Driver Format Tool. Kingston Format Utility. Dalam banyak kasus, menggunakan Fat32 Format Tool GUI saja sudah bisa melakukan format write protected flashdisk. Tetapi jika tidak berhasil kamu bisa mencoba tool lain diatas. Salah satu dari kedua cara format flashdisk diatas (baik melalui DISKPART di CMD.
Cara Format Sd Card Yang Write Protected
Insert the USB drive with write protection into a free USB port on your computer. If the USB drive has a write-protection switch on it, ensure the switch is disabled. 4. Open CleanGenius. It has a blue icon with a "C" that has a star in the middle of it. Click the icon in the Windows Start menu to open CleanGenius. 5.