Cara Format Flash Disk Write Protected UnBrick.ID
Alternatively, you can right-click the target drive and then select Format in Windows 7/8/10. Step 3: Choose a file system as you'd like - FAT32, NTFS, Ext2, Ext3, Ext4 or Linux Swap. Click OK to continue. Step 4: Execute this change by clicking the Apply button to remove write protection on SD card/USB flash drive.

Format Write Protected USB Flash Drive Using CMD
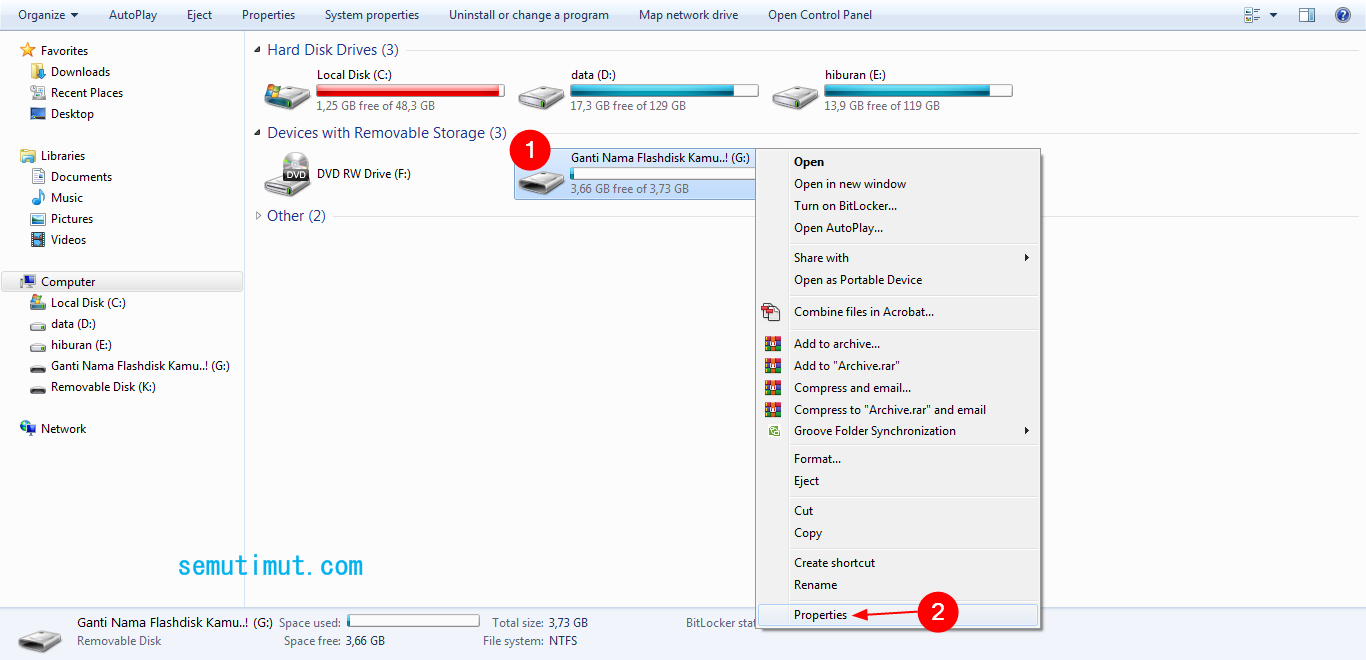
Connect your USB or pen drive to PC. Step 2. Open Windows File Explorer, locate and right-click on the files or folder which is write-protected in your USB drive, and select "Property". Step 3. Go to the General tab, uncheck "Read Only", click "Apply" and "OK" to finish.

Cara Format Flash Disk Write Protected UnBrick.ID
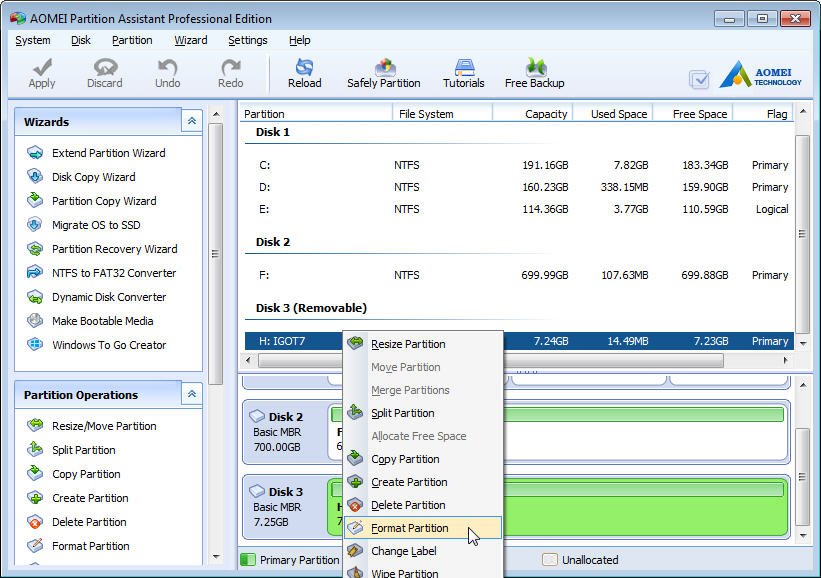
Right-click the write-protected USB to choose "Format Partition". Step 2. In the pop-up window, select the file system you need and click "OK". Step 3. After that, it will be back to the main interface, preview the changes and click "Apply" > "Proceed" to complete these operations.
Cara Format Flash Disk Write Protected UnBrick.ID
Remove the write protection and format the drive as follows: Step 1. Launch the EaseUS Partition Master Free on your computer. Step 2. Select the "Toolkit" section from the left navigation bar. Step 3. Click "Write Protection," select the protected device, and hit the "Disable" button. Step 4.
How to Cara mengatasi USB Flashdisk the disk is write protected solution YouTube
Apacer USB3.0 Repair Tool. USB Flash Driver Format Tool. Kingston Format Utility. Dalam banyak kasus, menggunakan Fat32 Format Tool GUI saja sudah bisa melakukan format write protected flashdisk. Tetapi jika tidak berhasil kamu bisa mencoba tool lain diatas. Salah satu dari kedua cara format flashdisk diatas (baik melalui DISKPART di CMD.
cara format flashdisk write protected dengan software reviews motefax
Step 1 Open Command Prompt. Open the Properties of USB flash drive by right-clicking and selecting Properties. Step 2 A window named Removable Disk Properties appears and you need to click "Security" tab. In the Permission for Everyone section, check whether the "Write" feature is marked with a tick.
How to fix "The disk is write protected" error on USB drives?
1. Cek USB Stick untuk Pindai Virus. 2. Mengatasi Flashdisk Tidak Write Protected. Pastikan flashdisk tidak diatur write protected. Foto: The Windows Club/kumparan. Langkah-langkah ini bisa mengatasi agar tidak terjadi write protected. Kamu dapat melakukannya melalui 'Command Prompt'.
Cara Format Flash Disk Write Protected UnBrick.ID
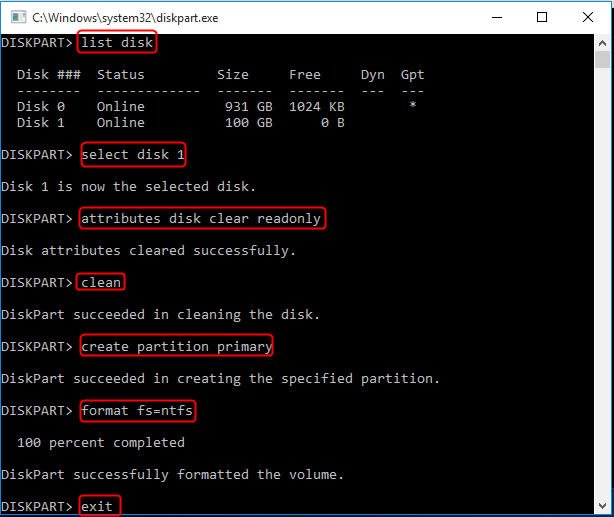
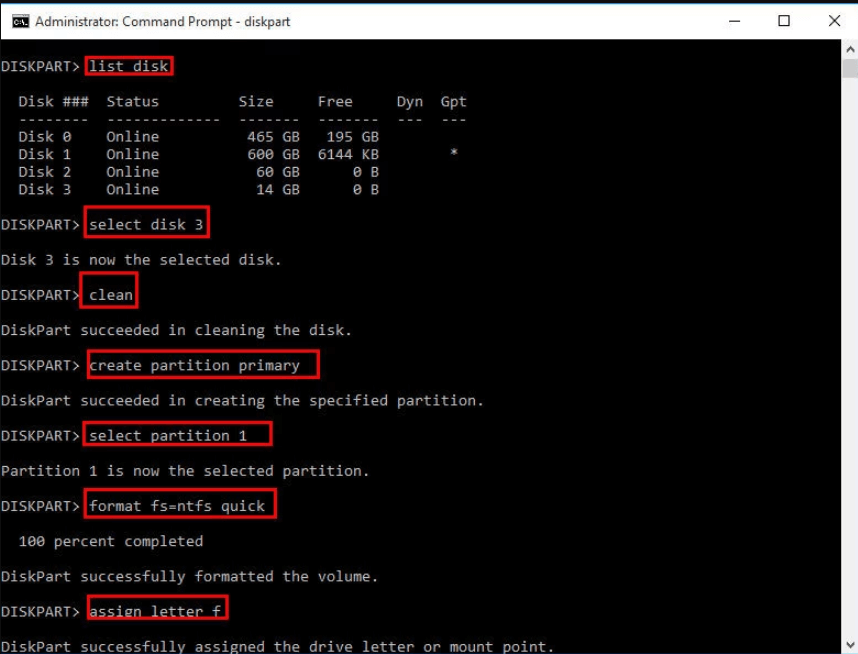
Hit Windows Key + X, and select Windows Terminal (Admin) from the menu. Type diskpart, and press Enter (1 in the above image). Next, type list disk, and press Enter. You should see a list of currently mounted disks, like so (2 in the above image). Make sure you can see your USB drive. Mine is Disk 4.
An Ultimate Guide to Fix The Disk Is Write Protected (5 Ways) EaseUS
Double-click on the WriteProtect value in the right-hand pane of Regedit.exe. Change the Value data from 1 to 0 and click OK to save the change. Close Regedit and restart your computer. Connect your USB drive again, and you should find it is no longer write protected.
How To Format A Write Protected Flash Drive Using Cmd USB Flash Disk
Step 1. Right-click the disk that is write-protected and select "Format Partition". Step 2. Choose your desired file system (ex: NTFS), and you can also set your other disk format preferences, such as partition label and cluster size. Step 3. Back to the main interface, click "Apply"->"Proceed" to start formatting the disk.
Cara Format Flashdisk di Laptop Windows 10/8/7 yang Benar SemutImut Tutorial Hp dan Komputer
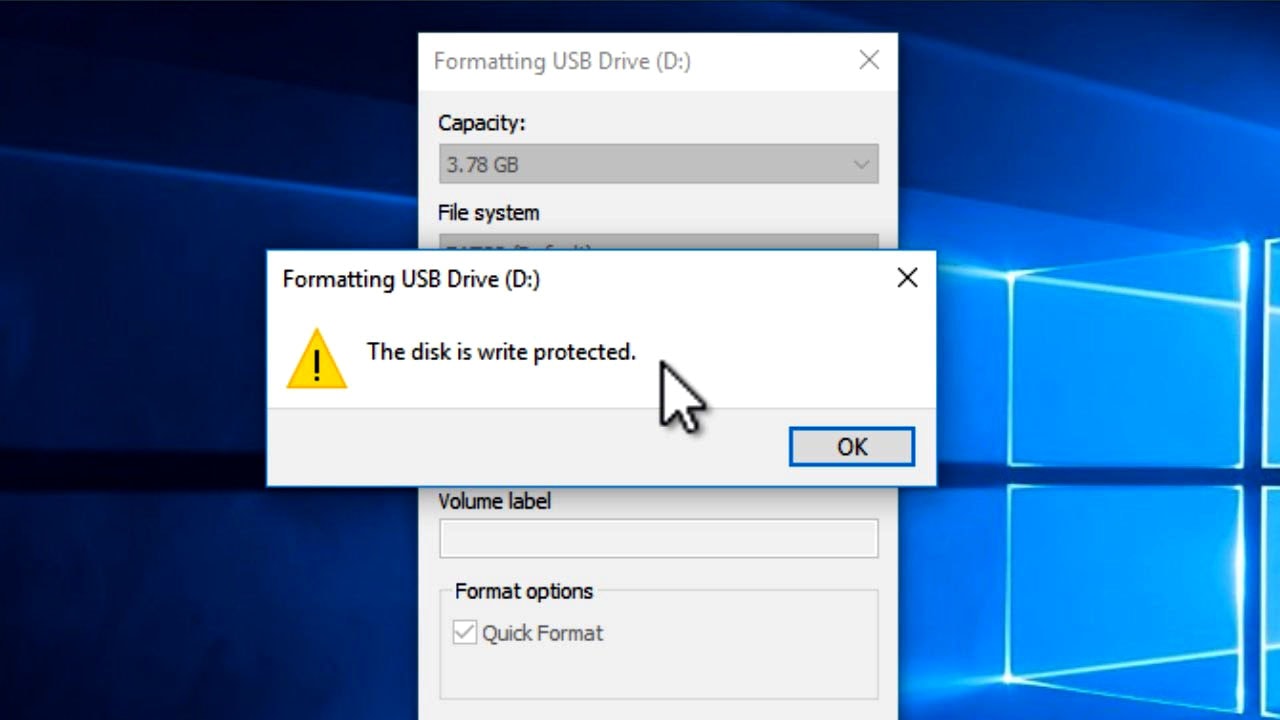
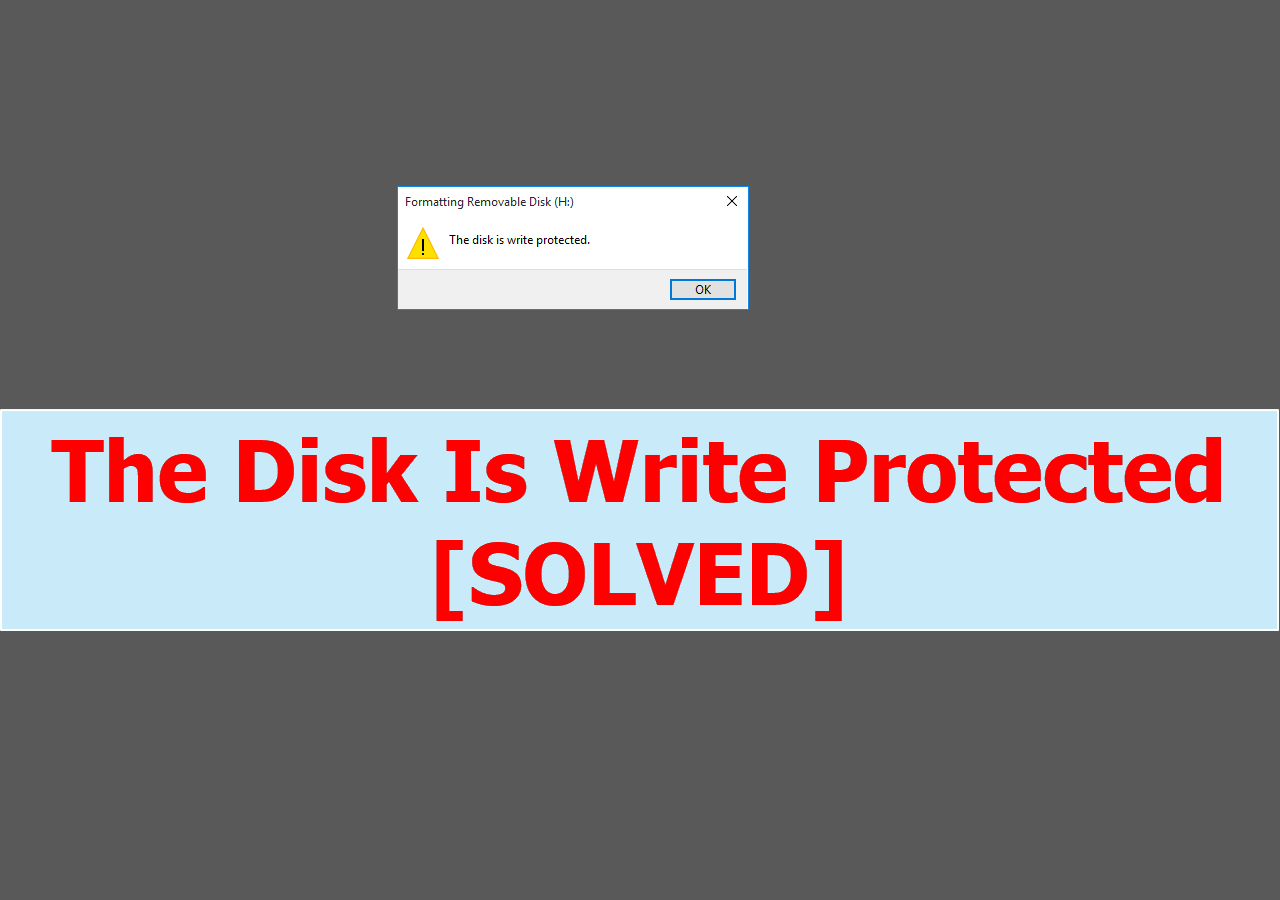
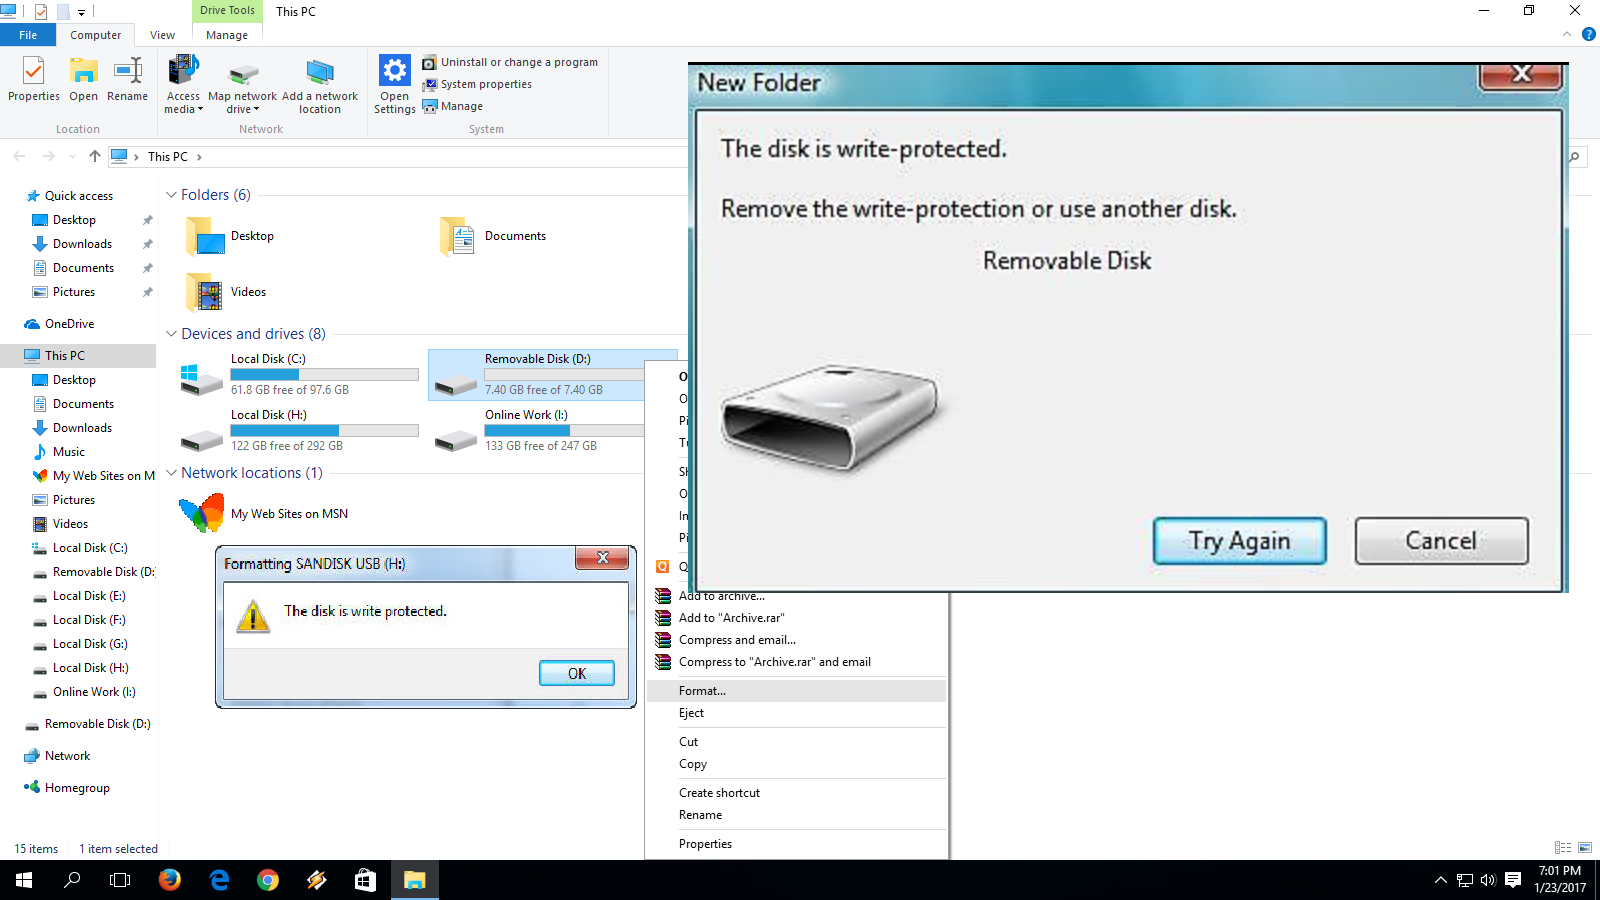
Using a USB drive shows the disk is write protected message. Causes of Write Protection. Write Protection is a way to prevent data loss on a drive. Drive Usage Exhaustion: Drives write data to blocks. Blocks can fail or go bad based due to usage. USB drives have threshold for the number of good blocks to determine the health of the drive.
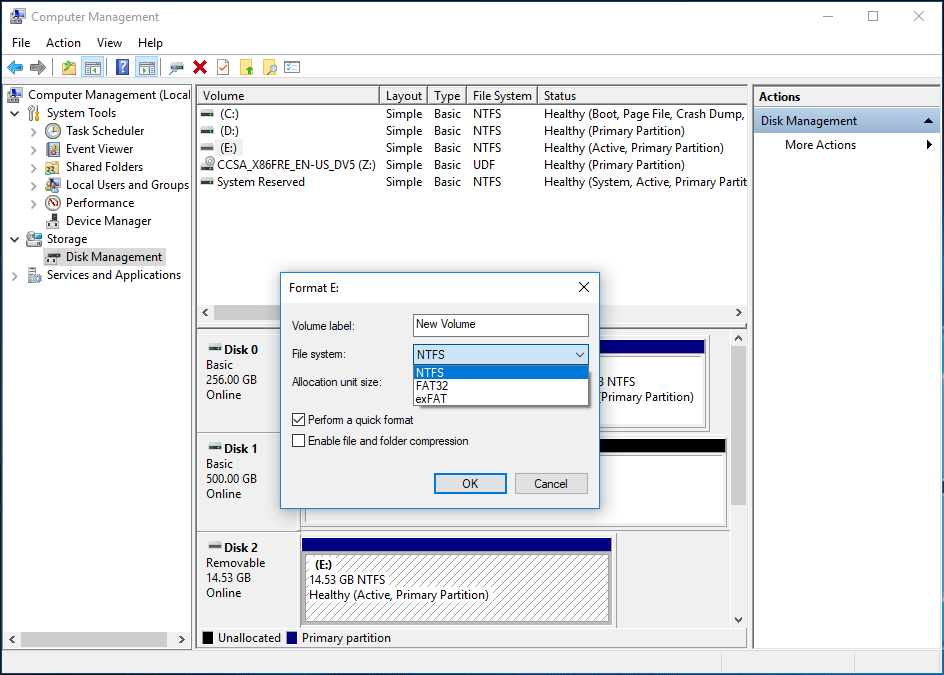
3 Methods to Format Writeprotected Disk in Windows 11/10/8/7
Click Unzip, then browse to the new location, and double-click Kingston Format Utility.exe. This will run the app; all you need to do now is select the Device and File system from the drop-down menus. Click Format when you're ready, then wait. Download: Kingston Format Utility (Free) 4.
Write protected usb format tool hohpajack
Step 1. Connect USB drive to Windows 11 and be sure it's recognized. Press Win + X and select Run, then type diskpart in the box and click OK. Step 2. In the Command Prompt window, type the following commands and press Enter after each line. list disk. select disk X: (X: is the drive letter of write-protected USB)
4 Cara Mudah Format Flashdisk Write Protected
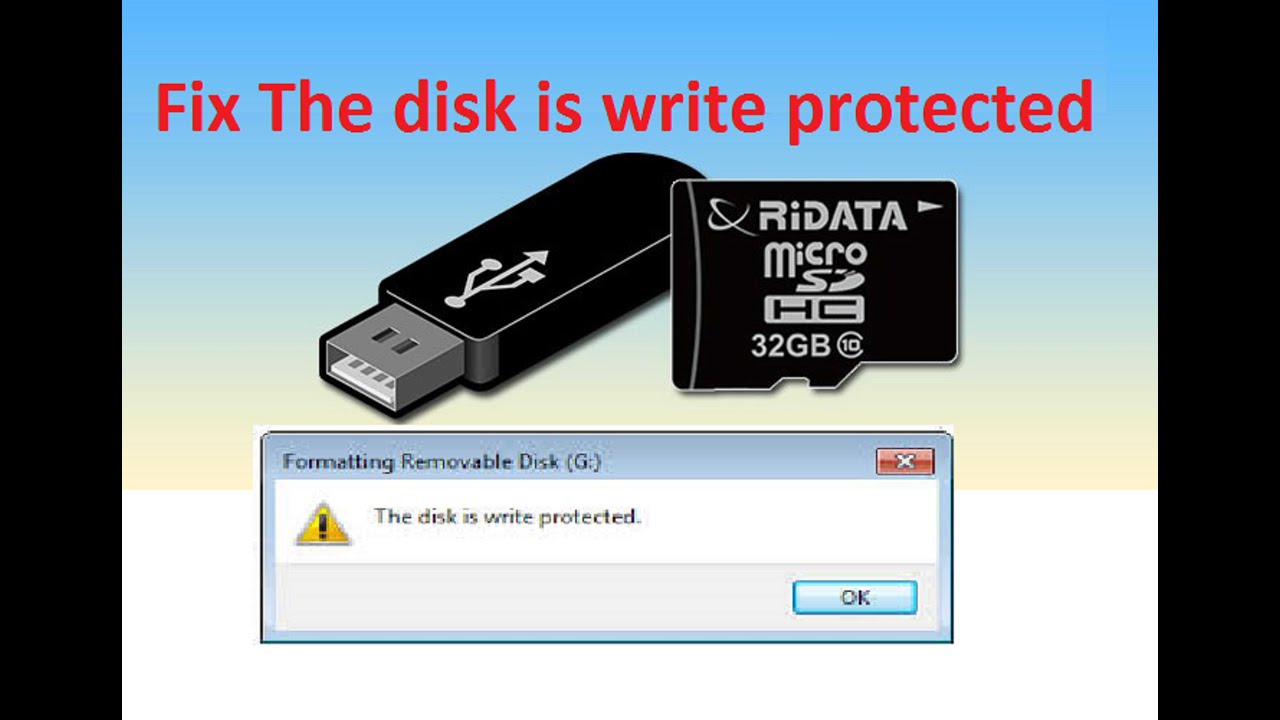
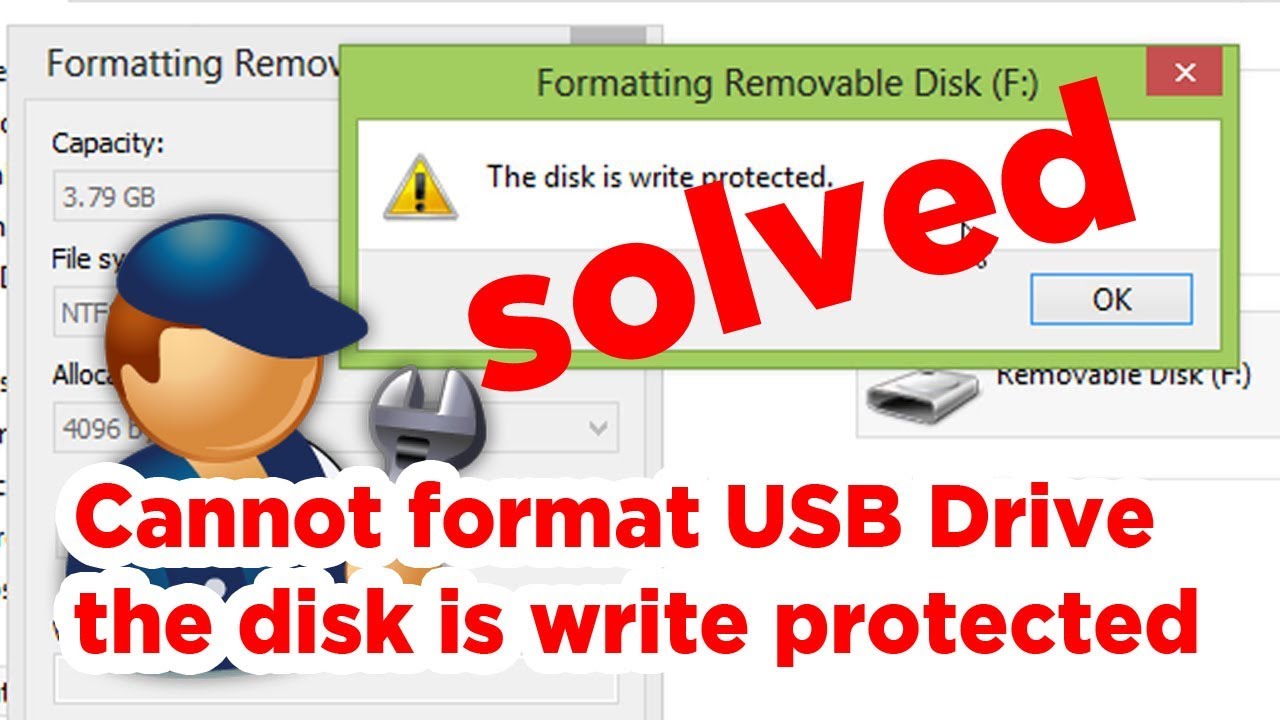
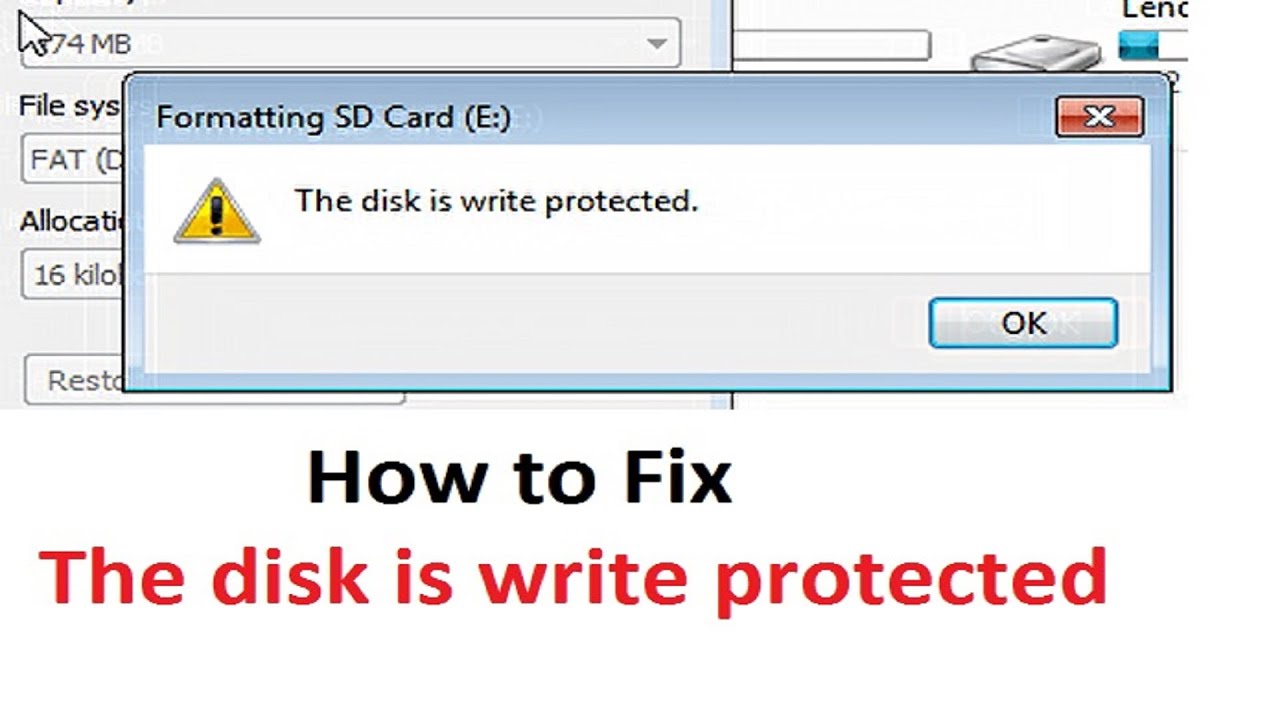
The "Unable to complete the format" &"Disk is write protected" error/problems, while trying to format a local disk or an external/removable drive (e.g. an SD media card or a USB flash disk or a USB external drive, etc.) means one of the following: 1.
cara format flashdisk write protected dengan software againodeb
1 Open an elevated command prompt. 2 Type diskpart into the elevated command prompt, and press Enter. (see screenshots below) 3 Type list disk into the elevated command prompt, and press Enter. Make note of the disk # (ex: disk 1) for the disk you want to enable or disable write protection for.
How to Format USB Drive in Command Prompt in Windows 11/10/8/7?
Open the Run program by pressing Windows+R. When the Windows Run box appears, type "diskpart" and hit the Enter key. Once you run diskpart, you will see the diskpart utility window: Type the command list disk in the DiskPart utility and hit Enter. This command will display all available storage devices in your computer.