
Diy Wooden Treasure Chest PDF Woodworking
Drill Impact driver (optional, but I love not having to switch bits with the drill) Finish nailer Sander Optional: Vinyl cutter (ie, Silhouette Cameo or Cricut Maker) Supplies:

Treasure Chest Out of Cardboard with lock Stepbystep DIY Tutorial
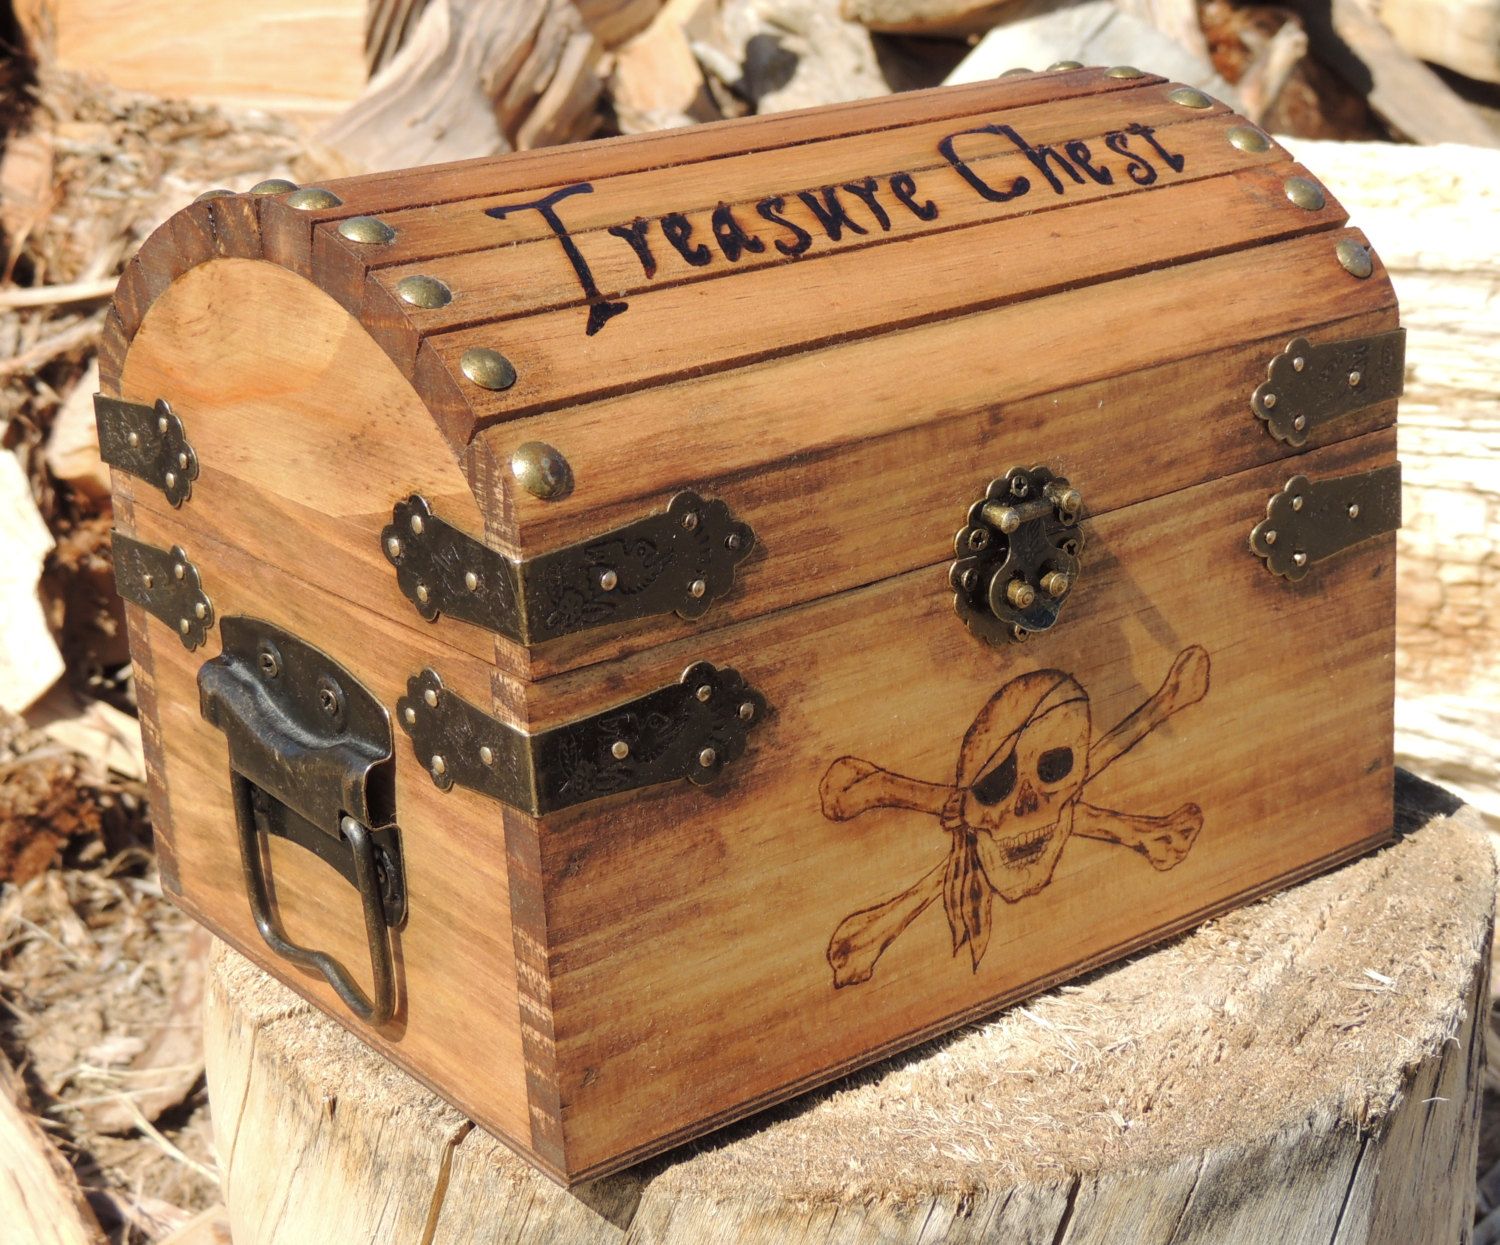
DIY Treasure Chest Toy Box (Hand Painted) June 16, 2023 Jump to Printable Instructions Children will love discovering the treasures in this personalized wooden DIY treasure chest box that is hand painted with chalk paint! It's perfect for birthdays, treasure hunts, pirate plunders, or use as a fun toy storage box.

Easy DIY Kids Wooden Treasure Chest Box for treasured items
Step 1: Tools This project is technically woodworking but requires no real finesse, just as well, or I couldn't have built it! However, you will need access to a power tool that only a woodworker would own: a table saw. This is really the only way you can accurately rip lumber.

Diy Wooden Treasure Chest Plans An Easy Guide For Beginners
Plan the size of your chest. The one built in this project is 11 inches wide, 9 inches tall (excluding the top) and 16 inches long (28 x 23 x 41 cm). Gather the lumber you will use. Here, we used 1 X 10 (19 mm × 235 mm) scrap maple lumber which had been stained and lacquered, then thrown in a construction site dumpster.
Diy Wooden Treasure Chest Plans An Easy Guide For Beginners
1. Reclaimed Wood Storage Chest 2. Personalized Hope Chest Plans 3. Bedroom Storage Chest For Blankets 4. Simple Wooden Storage Chest 5. DIY Storage Trunk 6. Rough Cedar Rustic Blanket Chest 7. Blanket Chest Style Hidden Litter Box 8. Becca Trunk 9. Blanket Chest Plans 10. Garden Storage Chest 11. Simple DIY Storage Chest 12. Treasure Chest Plan

30+ Treasure Chest Decoration Ideas
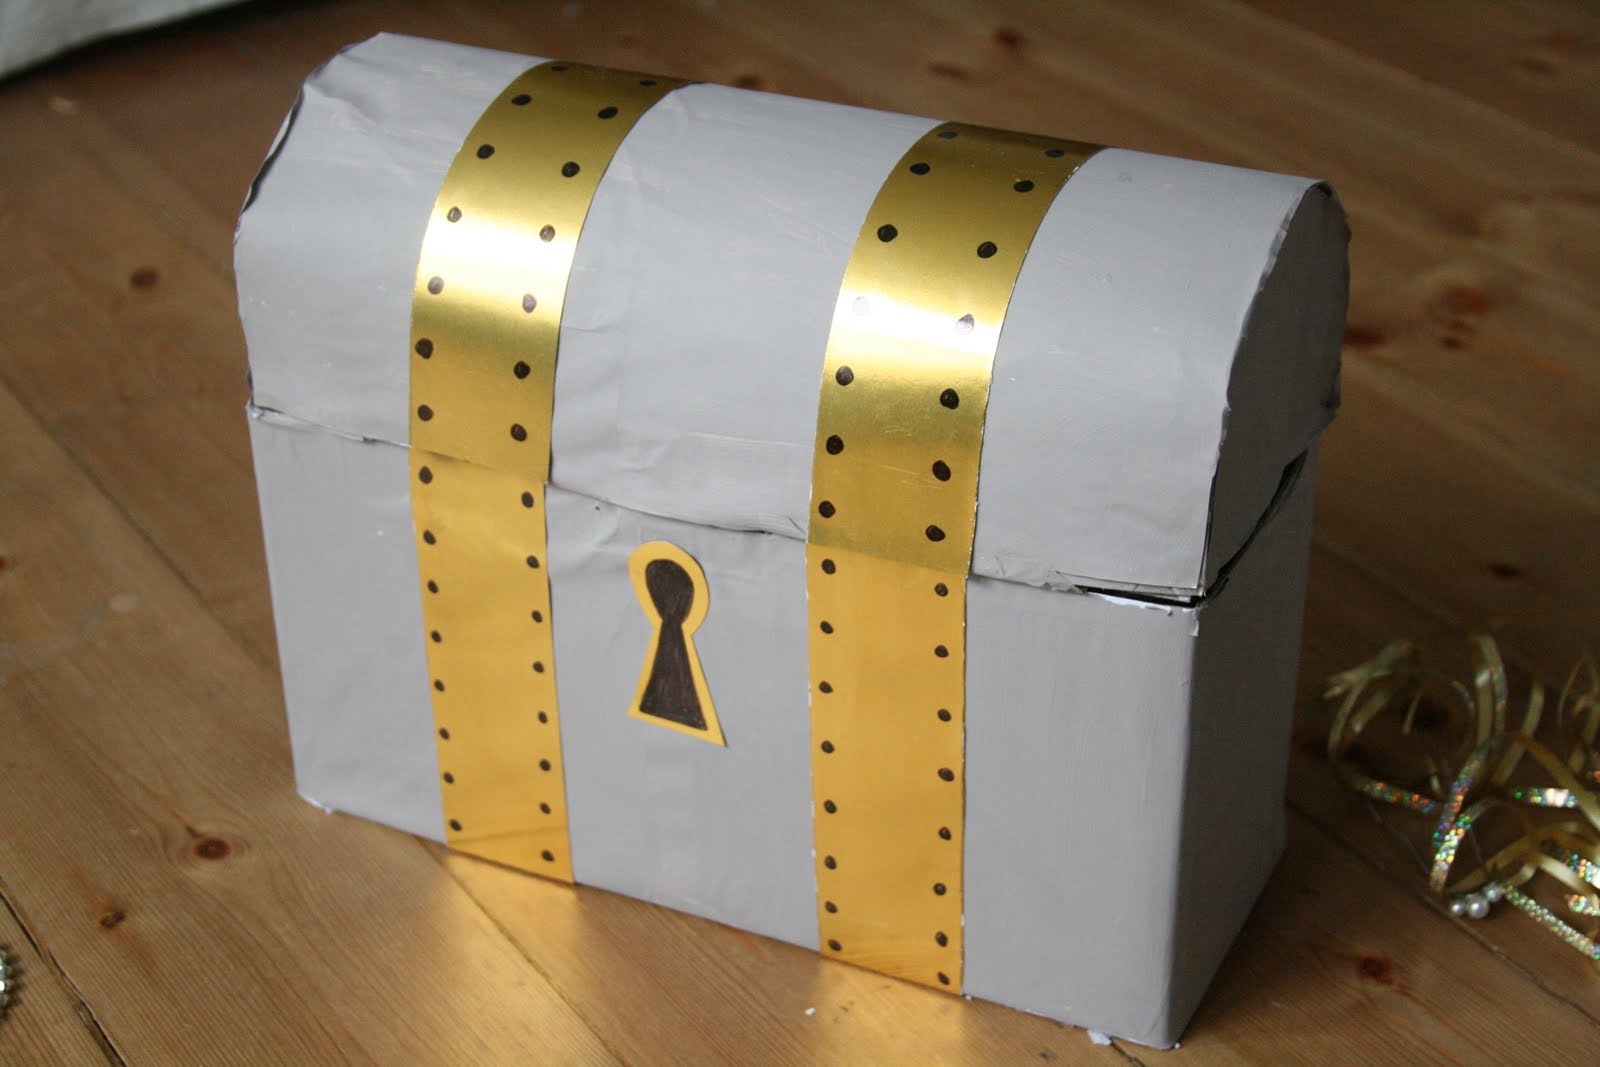
Step 1: Sketch Out the Pattern To make your Toy Treasure Chest, begin by drawing the curve for the top of the chest on the small sides of your box as shown in the image. Next, rule two lines all the way around the box. Ask Question Step 2: Cut and Score Use the Makedo Safe-saw and cut along the curved line so that the top comes off.
How to Make a Pirate DIY Treasure Chest Make Life Lovely
How to Make a Treasure Chest From Cardboard ! DIY Treasure Chest HM Product 38.3K subscribers Subscribe Subscribed 161K views 6 years ago Hi Today I Show you How to make a treasure chest out.

Simple Cardboard Pirate Treasure Chest Gift Box 6 Steps (with
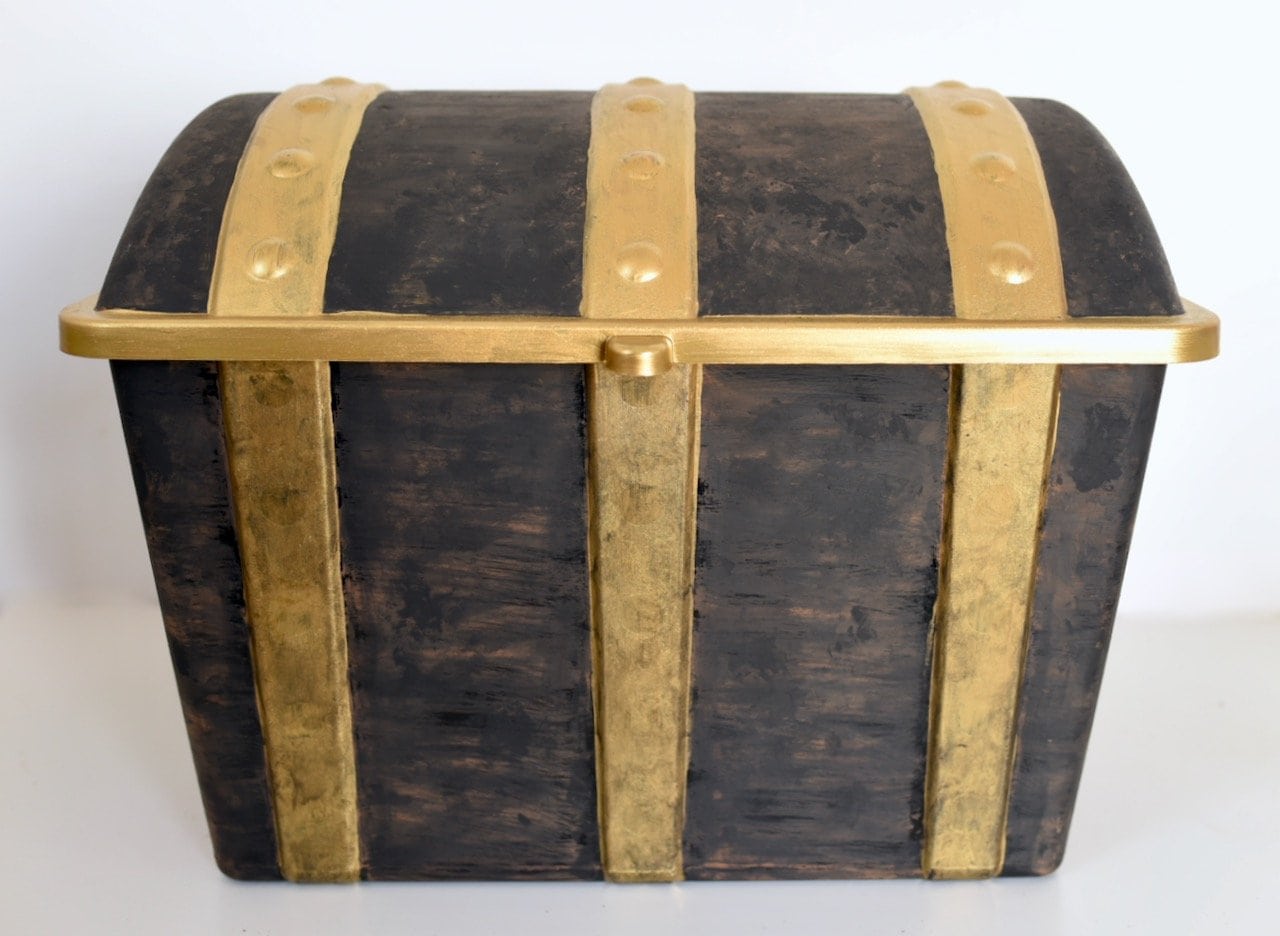
Connect the dots and cut it out. Assembly started on the lid: The slats for the lid are cut on one edge with a slight angle, as shown on the dimension sheet. Then it's just to glue and pin them in place up and over the lid: Fully assembled: The box will be stained later to even out the colour.

How to Make a Treasure Chest From Cardboard ! DIY Treasure Chest YouTube
Prepping the DIY Treasure Chest. Before you start painting you need to use sandpaper to sand all the sides of the treasure chest, as well as the lid. I didn't sand the strips going down the lid and down the front of the chest. Sanding will create ridges and rough up the plastic a bit to help the paint stick better to the plastic surface.

EASY CRAFTS DIY TREASURE CHEST FOR ROOM DECOR YouTube
Article Summary Co-authored by wikiHow Staff Last Updated: February 18, 2023 Aye, a pirates' life is for you! No matter if your pirate garb is for Halloween or a pirate themed event, every pirate needs a chest for his treasure. You can fashion your chest with booty from around the house and a little bit of craft savvy.

Pirate Week Day 4 Cardboard Treasure Chest Tutorial Create in the Chaos
3 mm corrugated cardboard cut from a slightly bigger box 1 mm corrugated cardboard cut from another box or something Some length of rope that I bought cheap at a hobby store A small amount of general office tape Tools: Glue gun and glue sticks Exacto knife/hobby knife with harp blades

DIY Pirate's Treasure Chest Using a Shoe Box Crafting A Fun Life
How to make a Pirate Treasure Chest.How to make a Treasure ChestThis chest was made with scrap wood boards of approx. 5.50'' X 26.00'' and a 10.00'' X 11.75.

Diy Wooden Treasure Chest Plans
1 7 Draw the dimensions of the wooden parts You need: First things first: decide how big you want your treasure chest to be. Once you've noted down your desired measurements, draw the dimensions of the front, back, sides, base and lid on your wood in pencil.
DIY Treasure Chest The Imagination Tree
Theclastyle Welcomes youFrom my house 🏡to yoursTreasure Chest 🧰 made from cardboard boxes.hope you enjoy guys.https://www.facebook.com/theclastyle.munroeht.

DIY Treasure Chest The Imagination Tree
Step 3: Installing Hardware. Now that the sealer has dried on the chest, we can now start attaching the hardware. Measure the handles so that they are centered and mark the holes with a pencil or a nail punch. Make sure to drill pilot holes before screwing them on to avoid cracking the wood.

Mermaid DIY treasure chest. Mermaid diy, Baby boy 1st birthday party
Step Eight, Make BASE Dado Cuts. Select a piece of plywood for the bottom panel of your treasure chest; for this size of chest, 7/16" stock was used. Set your table saw with a dado blade to receive this dimension, 7/16", and cut to a depth of 3/8" (half the thickness of the base material which is 3/4").